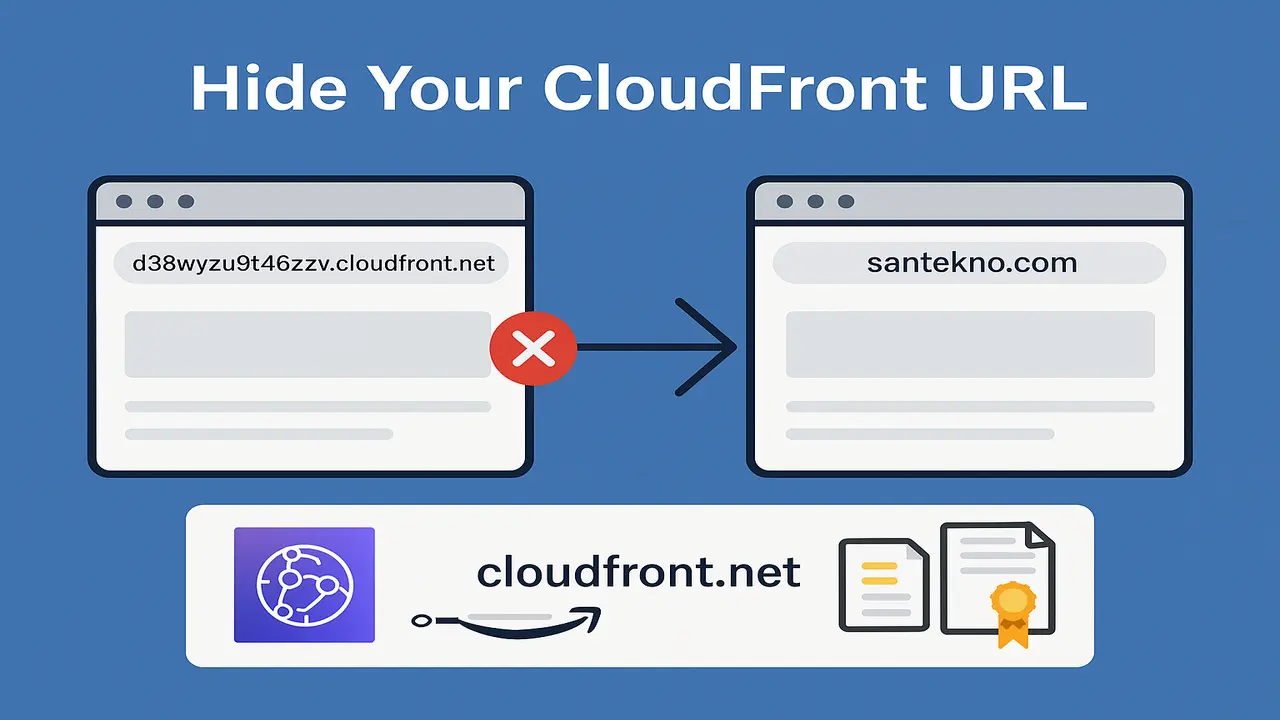
Complete guide to hide your default CloudFront URL and only allow access through your custom domain. Includes SSL, DNS, and CloudFront Function setup.
If you’re using Amazon CloudFront to deliver your web content, you’ve probably noticed that it comes with a default domain like d38wyzu9t46zzv.cloudfront.net. While functional, this URL is far from user-friendly or brand-safe — especially if you’ve already set up a custom domain like https://www.santekno.com/.
In this tutorial, we’ll show you how to:
- Configure CloudFront to use your own custom domain.
- Attach a valid SSL certificate via AWS Certificate Manager.
- Point your DNS to CloudFront correctly.
- Completely block access to the default CloudFront URL using a CloudFront Function.
Let’s jump in.
💡 Why Hide the Default CloudFront URL?
There are a few solid reasons to hide the *.cloudfront.net URL:
- Branding: You want visitors to see your domain, not AWS’s.
- Security: Exposing multiple access points increases risk.
- SEO: Search engines might index both the custom and CloudFront URLs, leading to duplicate content issues.
🔧 Step 1: Configure a Custom Domain (CNAME) in CloudFront
- Log in to your AWS Management Console and open CloudFront.
- Select your distribution (e.g.,
d38wyzu9t46zzv.cloudfront.net). - Click on the General tab and then click Edit.
- Under Alternate domain names (CNAMEs), enter your custom domain (e.g.,
santekno.comorwww.santekno.com). - Save your changes.
This tells CloudFront to serve content not just from the default domain, but also from your custom one.
🔐 Step 2: Attach an SSL Certificate Using AWS Certificate Manager (ACM)
Using HTTPS is no longer optional — it’s a must for both SEO and security.
- Open AWS Certificate Manager (ACM).
- Click Request a certificate.
- Choose Public certificate and enter your domain name(s):
santekno.com www.santekno.com - Choose DNS validation and follow the instructions to add the provided CNAME records in your domain DNS panel.
- After the certificate is validated, return to your CloudFront distribution settings.
- Under SSL Certificate, choose Custom SSL Certificate and select the certificate you just created.
- Set Minimum Origin SSL Protocol to
TLSv1.2for security.
Save your distribution settings again.
🌐 Step 3: Point Your Domain to CloudFront
Go to your domain registrar (e.g., Cloudflare, Namecheap, GoDaddy) and update the DNS settings:
For
www.santekno.com:- Add a CNAME record:
Name: www
Type: CNAME
Value: d38wyzu9t46zzv.cloudfront.net
- Add a CNAME record:
For the apex/root domain
santekno.com:- If your DNS provider supports ALIAS or ANAME records, use that.
- Otherwise, consider using services like Cloudflare that support root-level CNAME-like behavior.
Wait a few minutes for DNS propagation, then try accessing your site using https://www.santekno.com/.
🚫 Step 4: Block Access to the Default CloudFront URL
Even after all that setup, someone could still visit your CloudFront URL directly — and that’s what we want to prevent.
We’ll use a CloudFront Function to check the Host header. If it doesn’t match your domain, we’ll block the request.
Create a CloudFront Function:
- In CloudFront, go to Functions → Create function.
- Name it
BlockDefaultDomain. - Use the following function code:
function handler(event) {
  var request = event.request;
  var headers = request.headers;

  if (headers.host && headers.host.value !== 'santekno.com') {
    return {
      statusCode: 403,
      statusDescription: 'Forbidden',
      headers: {
        'content-type': { value: 'text/plain' },
      },
      body: 'Access via default CloudFront domain is forbidden.',
    };
  }

  return request;
}
- Click Publish.
Attach the Function:
- Go to your CloudFront distribution.
- Under Behaviors, click Edit for the default behavior (
/). - Under Function associations, select
Viewer requestand choose your function. - Save changes.
Test It:
- ✅
https://www.santekno.com/— should work perfectly. - 🚫
https://d38wyzu9t46zzv.cloudfront.net— should return 403 Forbidden.
🧪 Optional: Redirect Instead of Block
Want to redirect traffic instead of blocking? Use this function instead:
function handler(event) {
  var headers = event.request.headers;

  if (headers.host && headers.host.value !== 'santekno.com') {
    return {
      statusCode: 301,
      statusDescription: 'Moved Permanently',
      headers: {
        'location': { value: 'https://www.santekno.com/' },
      },
    };
  }

  return event.request;
}
🎉 Final Thoughts
By completing this guide, you’ve now:
✅ Set up a professional, secure domain for your CloudFront content
✅ Attached an SSL certificate for HTTPS
✅ Redirected or blocked access to the raw CloudFront URL
This configuration not only enhances your site’s branding and professionalism but also protects your content and SEO ranking from being diluted by duplicate URLs.
✨ What’s Next?
- Set up www to non-www redirection for consistency.
- Add CloudFront caching rules for better performance.
- Monitor access logs to ensure no one is trying to bypass your domain.
Have questions or want more tutorials like this? Drop a comment or visit santekno.com for more guides.
Let me know if you’d like me to format this into Markdown or export it for easy blog upload!
Hot Articles
12 Creating Static File Handler
01 Jan 2025

