


Requirements
- Colima
- Docker
- Kubernetes
- Minikube
Understanding Kubernetes or K8s
What we more often call containterize + orchestration
1container + orchestrationThe name Kubernetes comes from Greek, meaning helmsman or pilot, and is the origin of the words governor and cybernetic. K8s is an abbreviation obtained by replacing the 8 letters “ubernete” with “8”.
Why do we need containers?
- Capability/dependency
- Long setup time
- Different Dev/Test/Prod environments
What do we need to do?
- Apps need to be containerized
- Run each service with independent or separate dependencies for each container
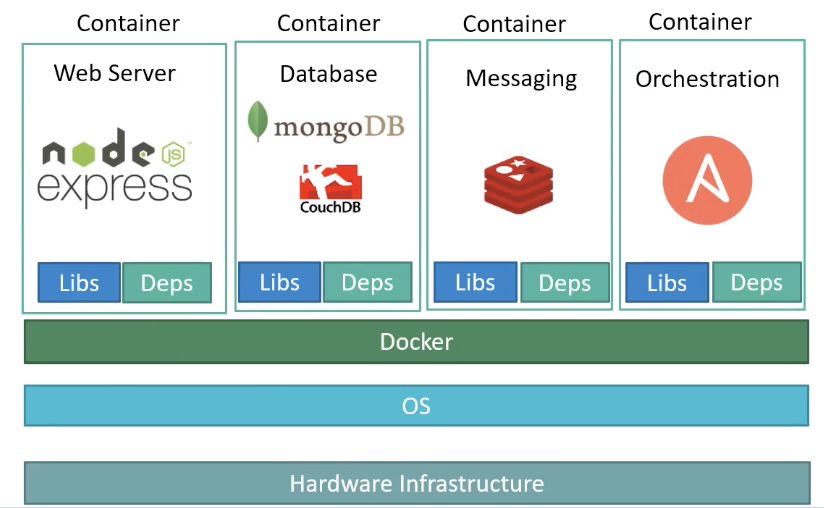
Differences between Containers vs Virtual Machines
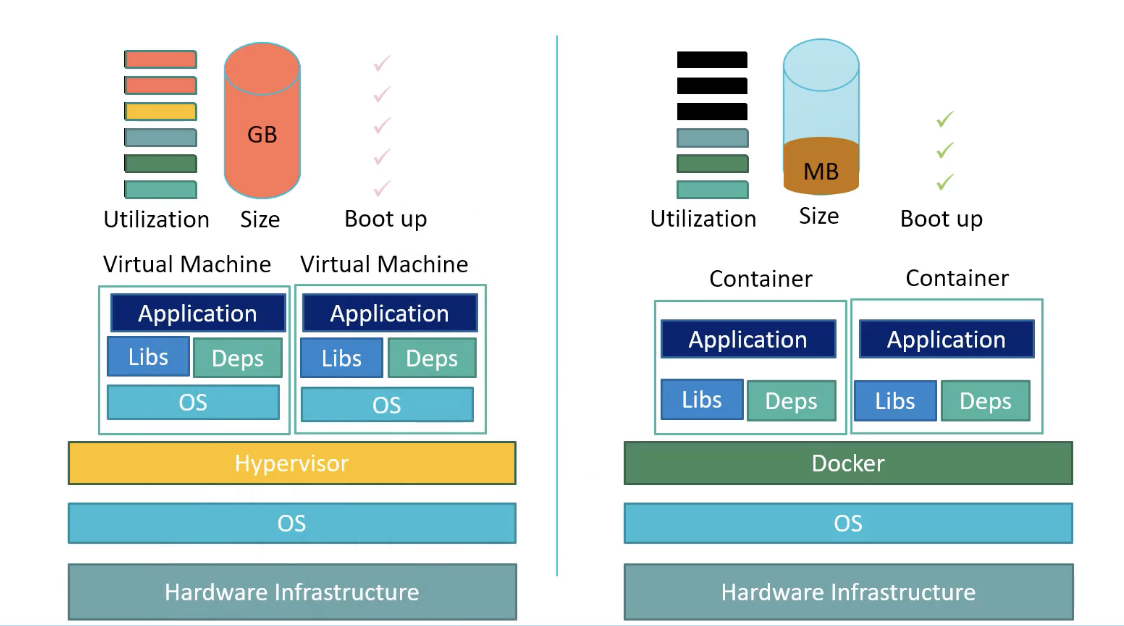
Advantages of Containers
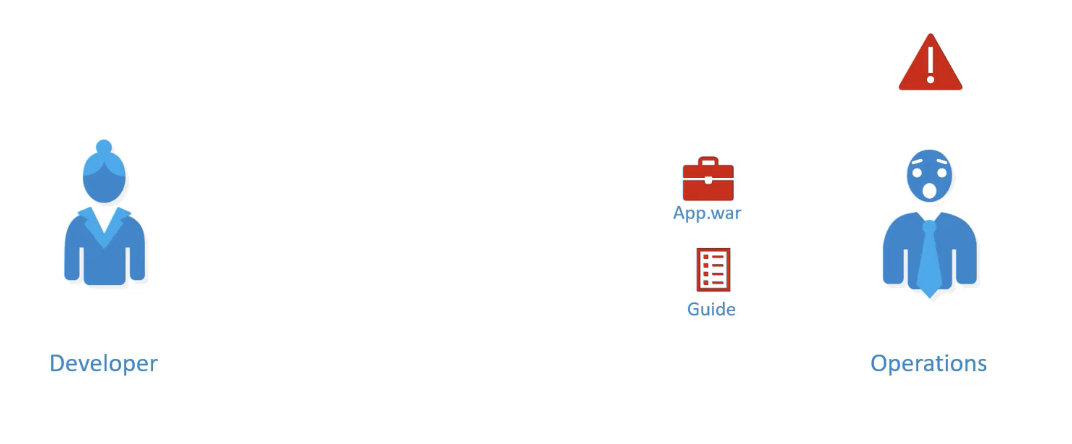
Old Principle of deployments
Deployments containerize
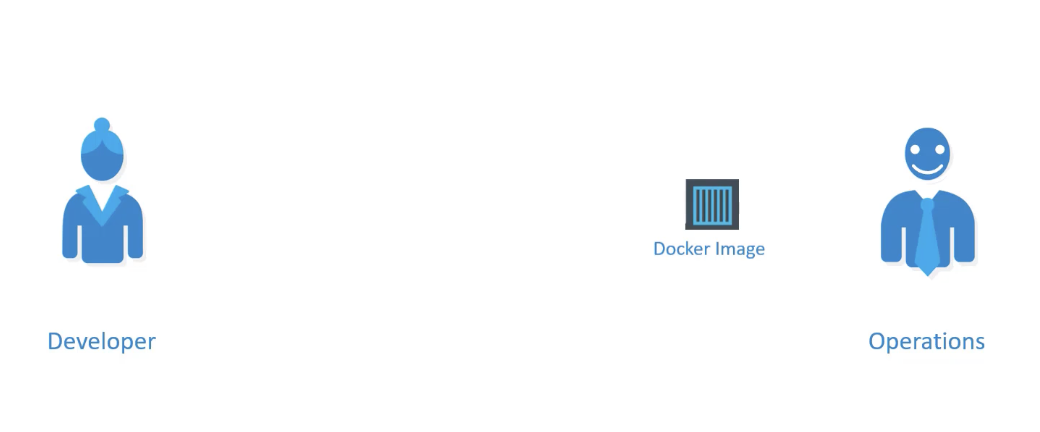
Principles of Container Orchstration
Some Orchestration Technologies:
- Docker Swarm
- Kubernetes
- MESOS
Example of Orchestration Container
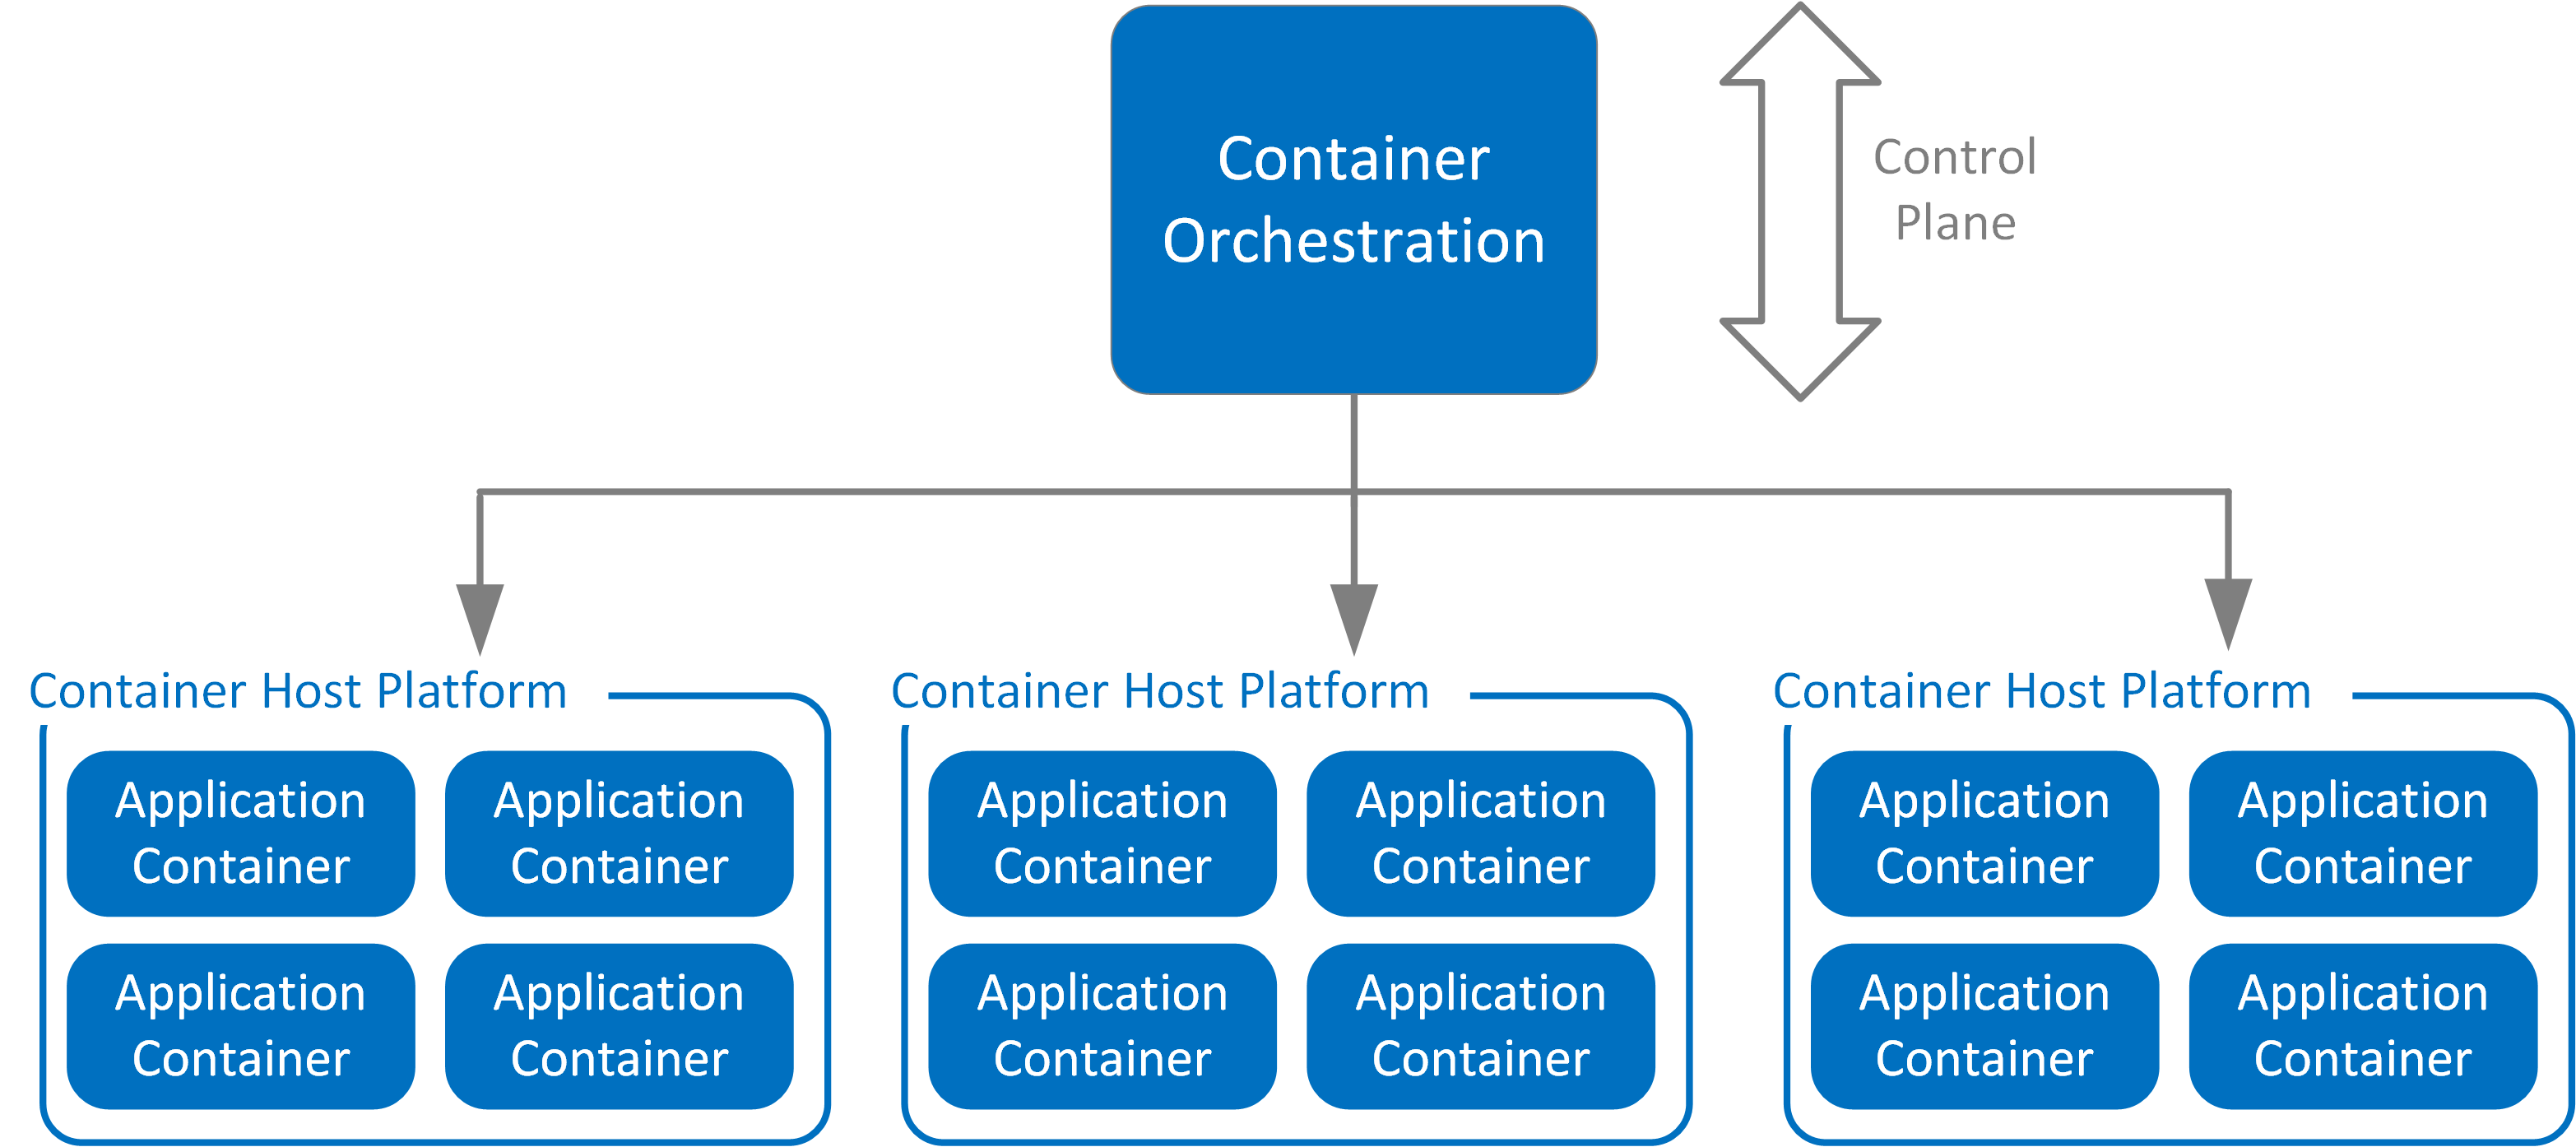
Install Kubernetes on Local
When installing Kubernetes we need several things to be installed. Make sure the requirements above are met, such as installing docker with colima (MacOS M1)
Install Set Up Kubectl
Next, install kubectl for our tools needs here
1https://kubernetes.io/docs/tasks/tools/Once finished, try confirming it again with the command below
1➜ kubectl version --client
2Client Version: v1.29.2
3Kustomize Version: v5.0.4-0.20230601165947-6ce0bf390ce3
Install minikube
To install Minikube, you can also see here
1https://minikube.sigs.k8s.io/docs/start/If you have followed the instructions in the link above to install Miniku, then we will try running Minikube by making sure that Docker is running.
1minikube start --driver=dockerTo ensure that minikube is running, we can run the command below
1➜ minikube status
2
3minicube
4type: Control Plane
5host: Running
6kubelet: Running
7apiserver: Running
8kubeconfig: Configured
Error when running minikube
Still having an error? Try doing it
1sudo chown -R $USER $HOME/.minikube; chmod -R u+wrx $HOME/.minikube1minikube start --force-systemd=trueRunning Services on Kubernetes via Minikube
We will try to create a Kubernetes Deployment using an existing image with a simple HTTP Server exposed 8080.
1➜ kubectl create deployment hello-node --image=registry.k8s.io/e2e-test-images/agnhost:2.39 -- /agnhost netexec --http-port=8080
2
3deployment.apps/hello-node created
And let’s try to see the deployment with commands
1➜ kubectl get deployments
2NAME READY UP-TO-DATE AVAILABLE AGE
3hello-node 1/1 1 1 35m
then to see the activity log from the server that we have running
1➜ kubectl logs hello-node-ccf4b9788-bv9wd
2I0303 11:31:13.581880 1 log.go:195] Started HTTP server on port 8080
3I0303 11:31:13.583262 1 log.go:195] Started UDP server on port 8081
We create a service from the pod that was created earlier with the command below
1➜ kubectl expose deployment hello-node --type=LoadBalancer --port=8080
2service/hello-node exposed
then you will see the 8080 port running under ports
1➜ kubectl get services
2NAME TYPE CLUSTER-IP EXTERNAL-IP PORT(S) AGE
3hello-node LoadBalancer 10.98.200.124 <pending> 8080:30890/TCP 110s
To get the deployment URL that we ran earlier, you can use the command
1➜ minikube service hello-node --url
2http://127.0.0.1:60493/